We are 100% compatible with WireGuard. That is not necessarily true of the competition. You can install the official WireGuard client for MacOS from the Mac App Store and it will work with our service.
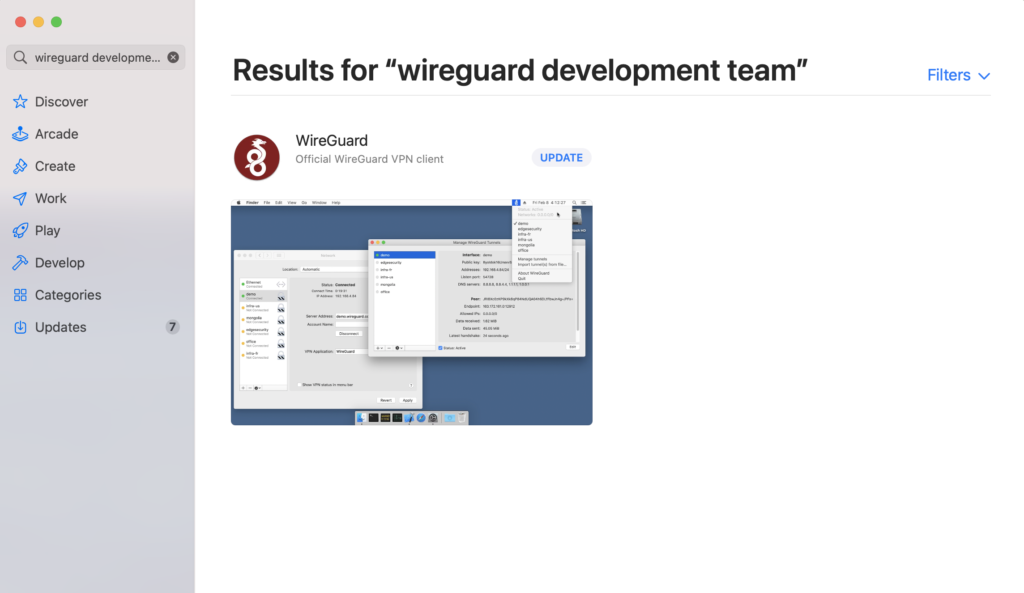
Install it as you would with any other software for your Mac.
Next, login to the Nettica Admin, click on Devices tab, and then click the “Add Device” button.
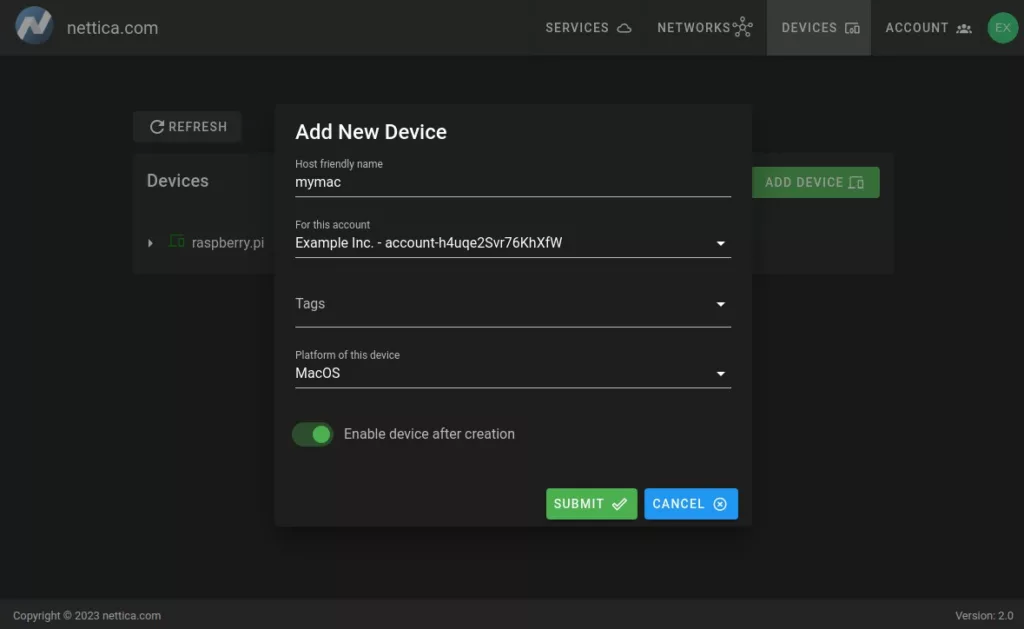
Enter a name, and specify MacOS for the platform. You can leave the other fields empty as this configuration is for a client. Click Submit.
Go to the device you just created and click the blue plus (“+”) icon to add the machine to your VPN network.
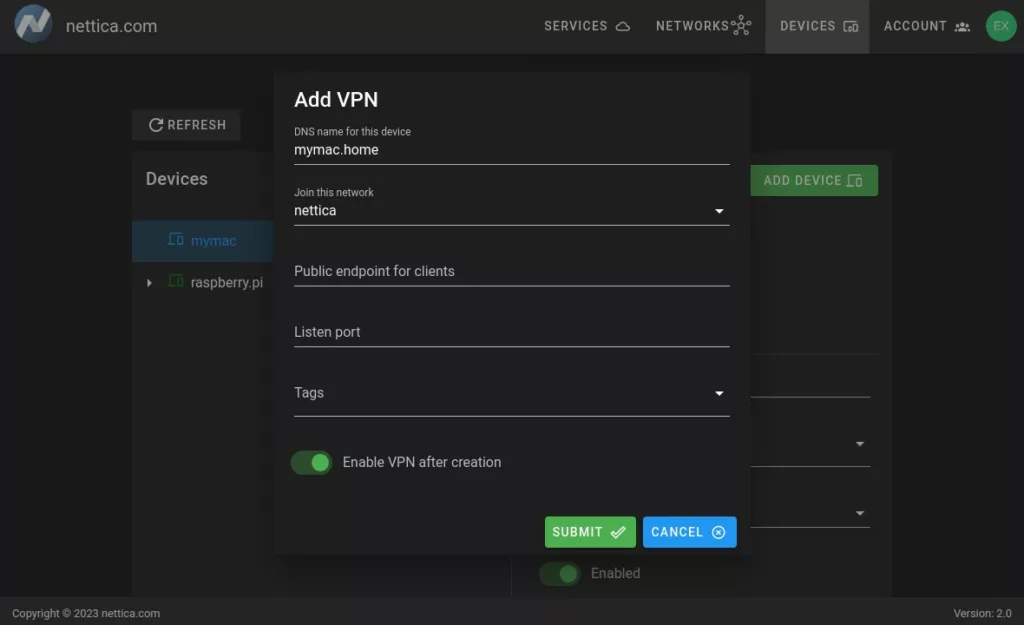
Click “Submit”, then select the device again and expand to show the network you just added.
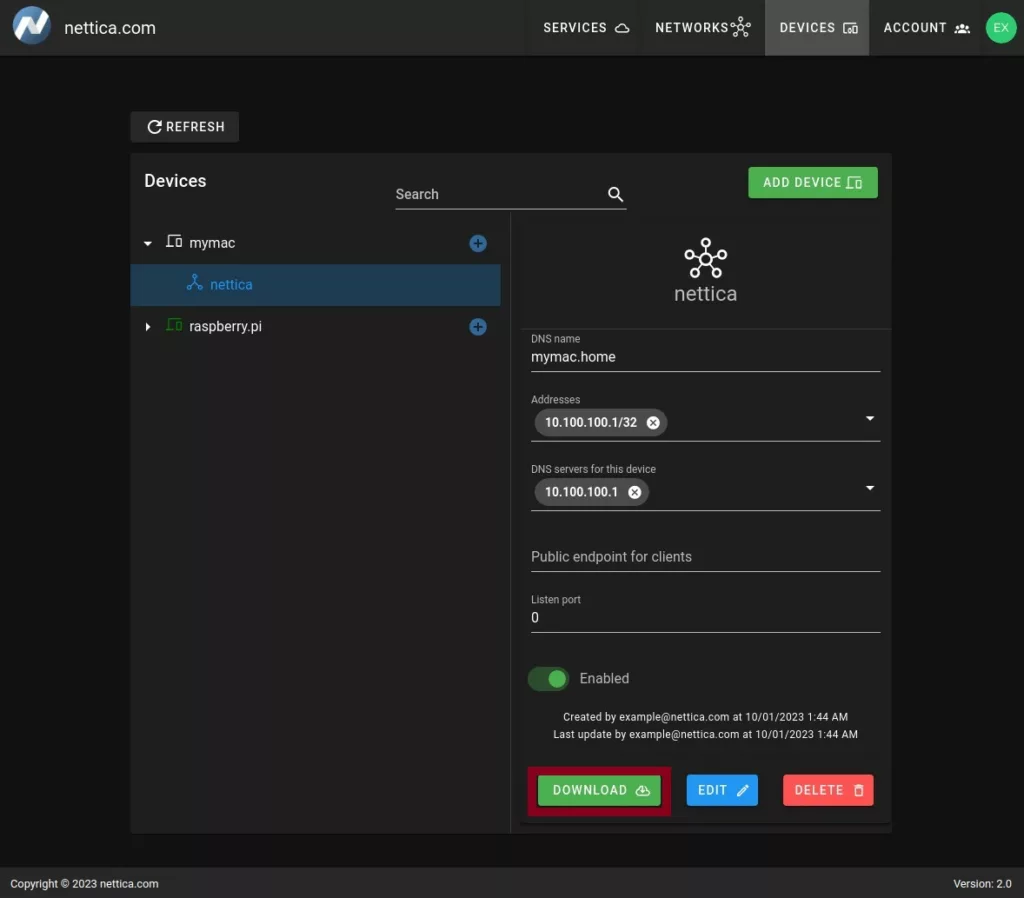
Click “Download”. This will download the current network configuration for this VPN to your machine (do this on your Mac). Now, open WireGuard and click on “Import tunnel(s) from file” if this is your first config, otherwise click the plus sign to import a new configuration.
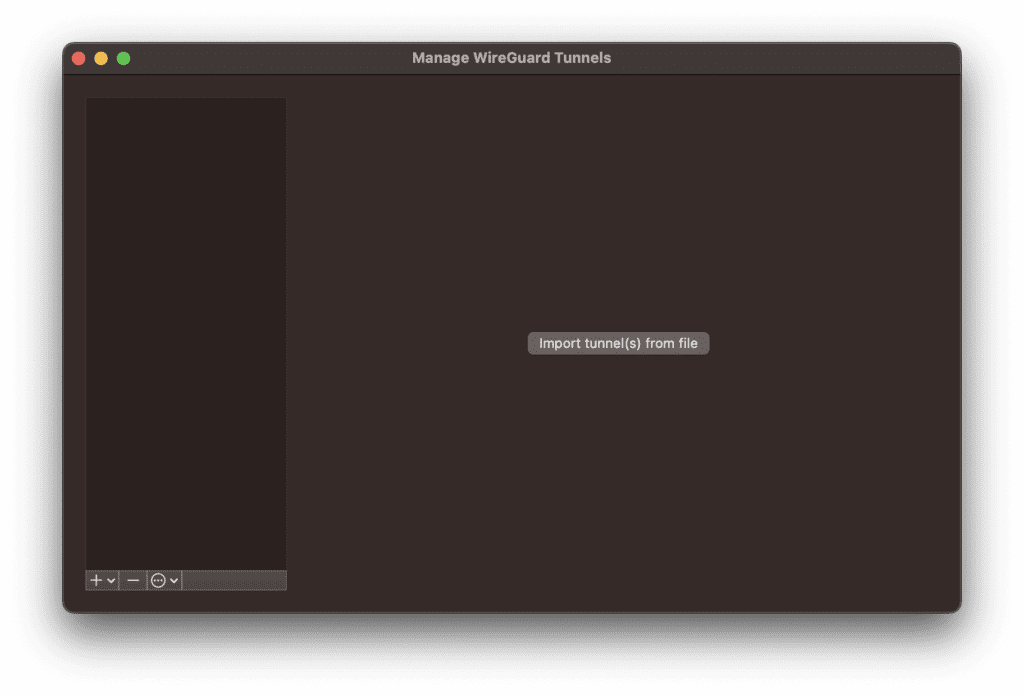
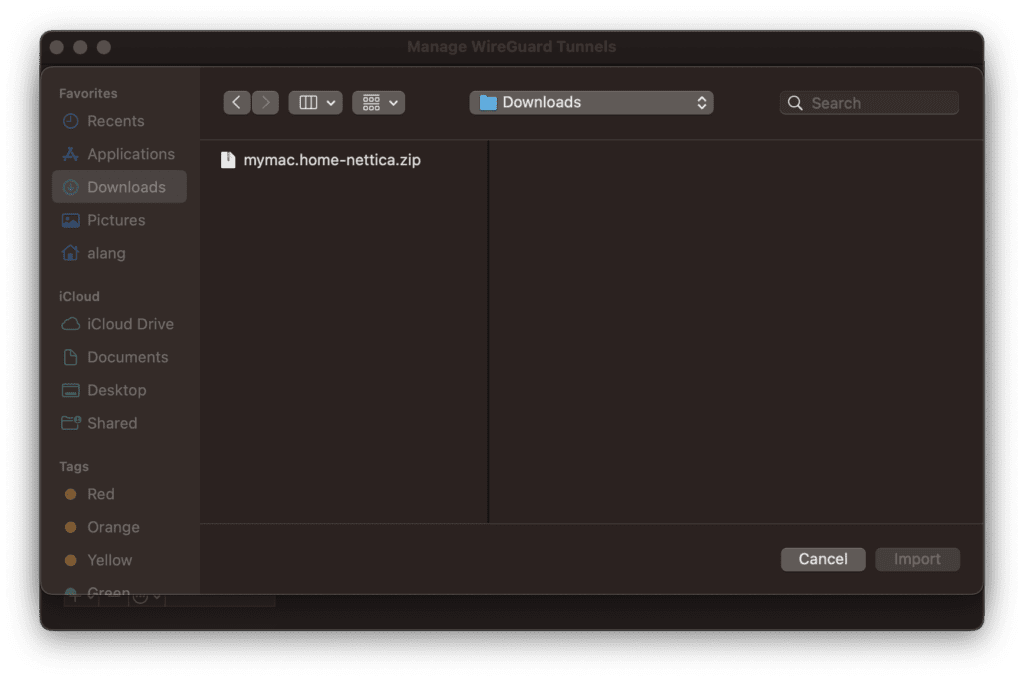
Find the zip file (typically in your Downloads folder) and import it.
You will receive a notification from Mac to confirm the change.
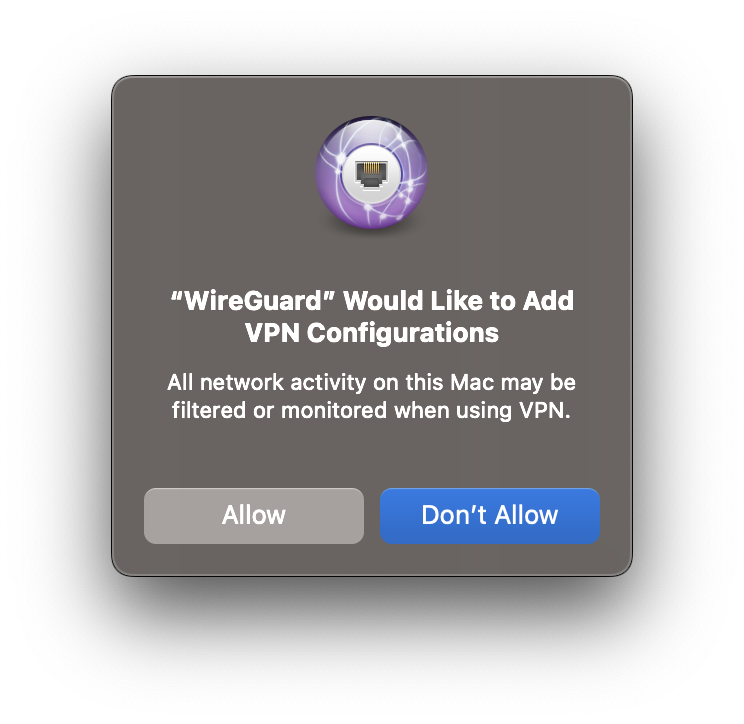
Click “Allow”.
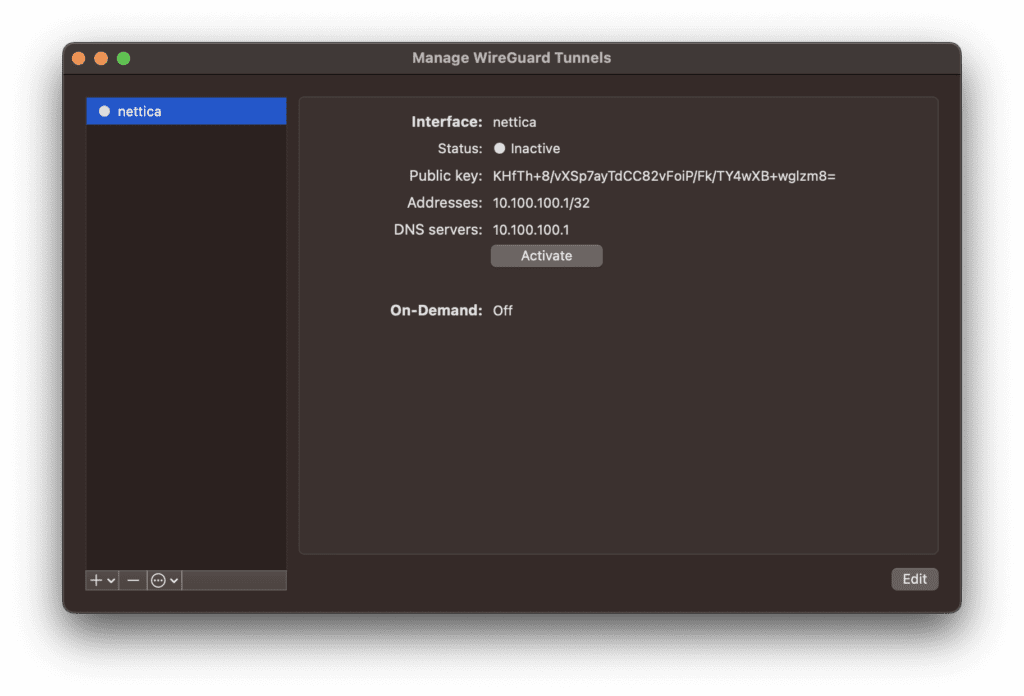
Click “Activate” to start the VPN.
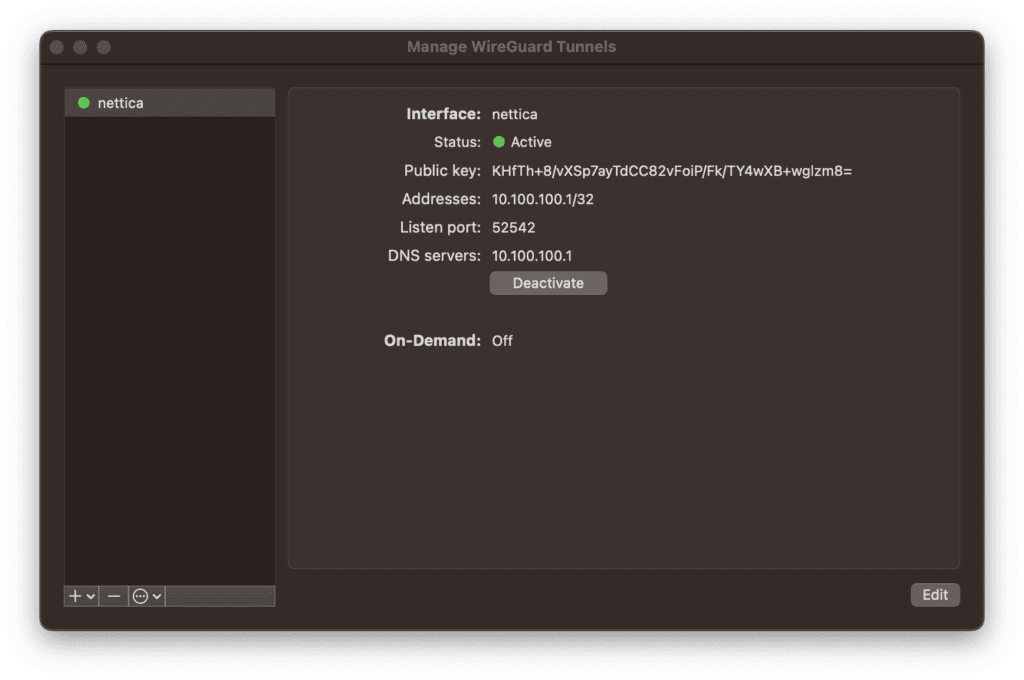
You should now be able to access all your VPN resources from your Mac. Note that if new servers are added to the network, or other important configuration changes are made, you will need to re-download import the configuration.
