Account Management
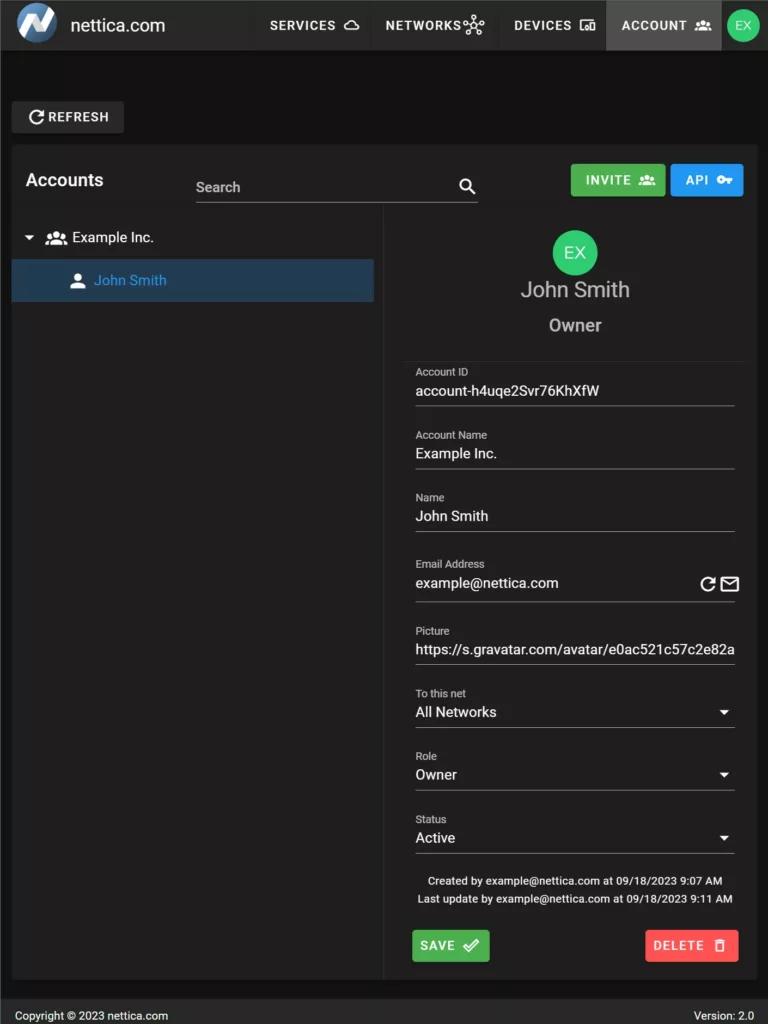
Here you can manage multiple Accounts, assign Roles, see Status and perform actions associated with your role.
Inviting Others to your Account
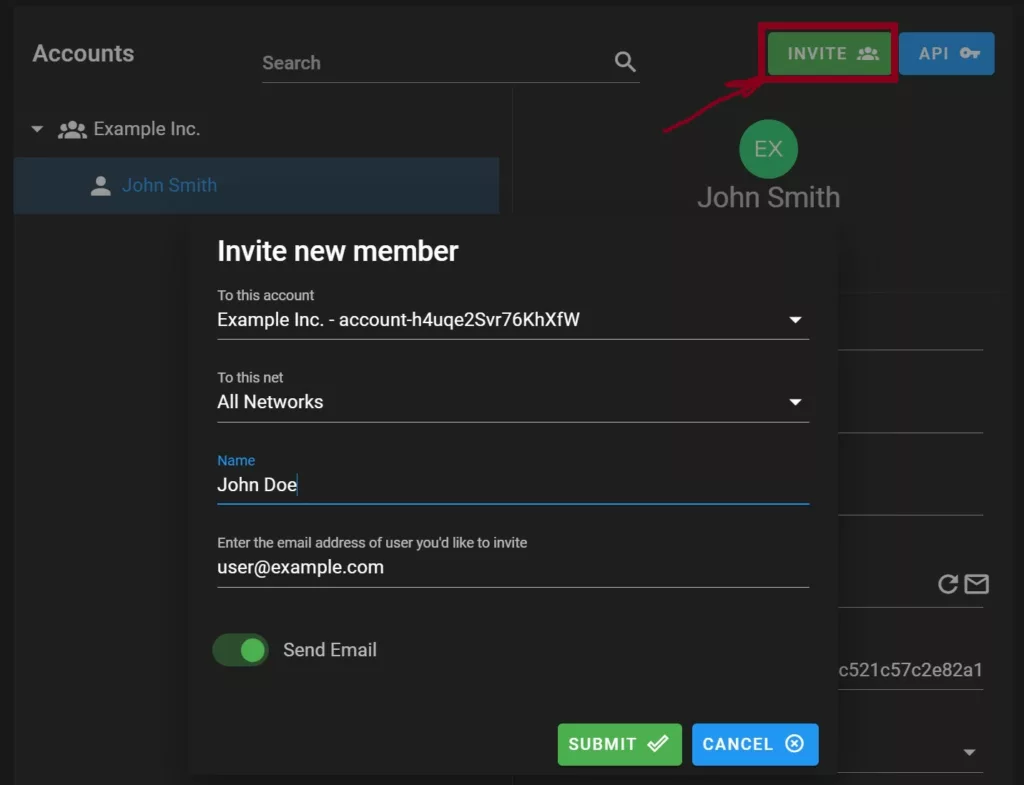
You can invite someone to your account the Accounts management tab by clicking Invite, and adding their name and email address. You may also specify which account they are to join (if you are the Admin or Owner of multiple accounts). You also specify all networks, or just a specific network. Sending an invitation email is optional but highly recommended for someone’s first network.
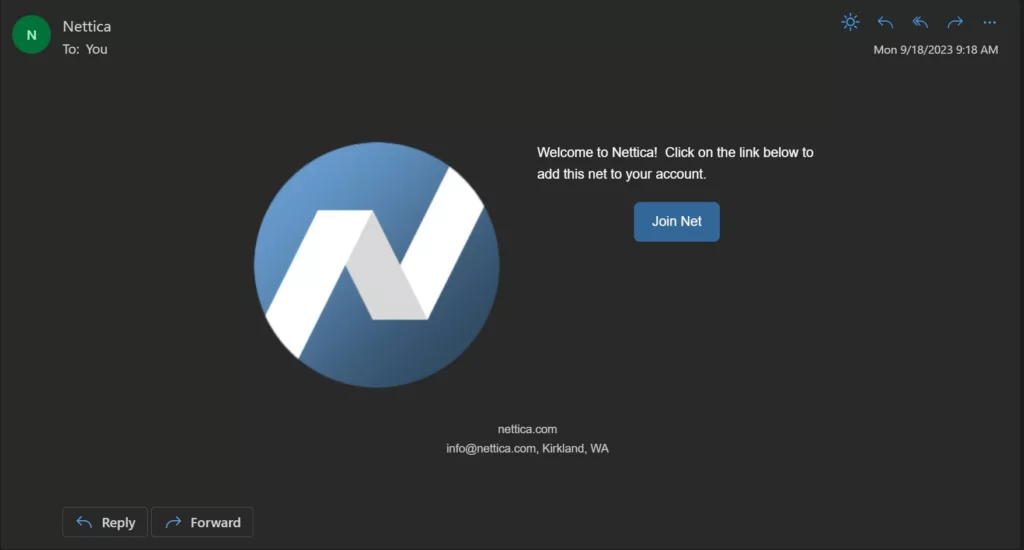
Clicking “Join Net” in their email will activate the account they were invited to.
Network Management
Creating and managing networks couldn’t be easier. In the Networks UI, click on the green “Create” button and fill in the form.
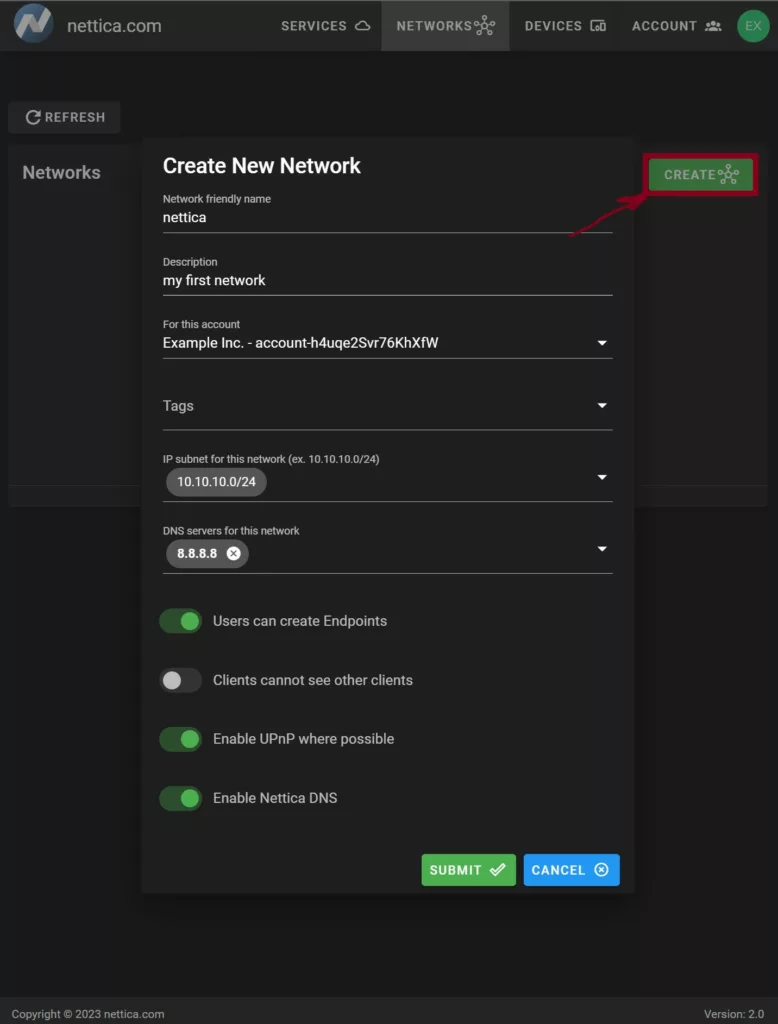
The toggles at the bottom represent network policy you can enforce. Endpoints are servers accessible via the network, so you may want to limit this to only endpoints created by an Admin. If you have a large number of users, but a relatively small number of endpoints, you can toggle that clients cannot see other clients, since there would be no way to communicate directly with them. Enabling UPnP and Nettica DNS are particularly helpful and can be set per client, regardless. The example above shows a network with maximum flexibility, allowing users to create their own endpoints, and all clients can see each other — perfect for a small collaborative group.
Device Management
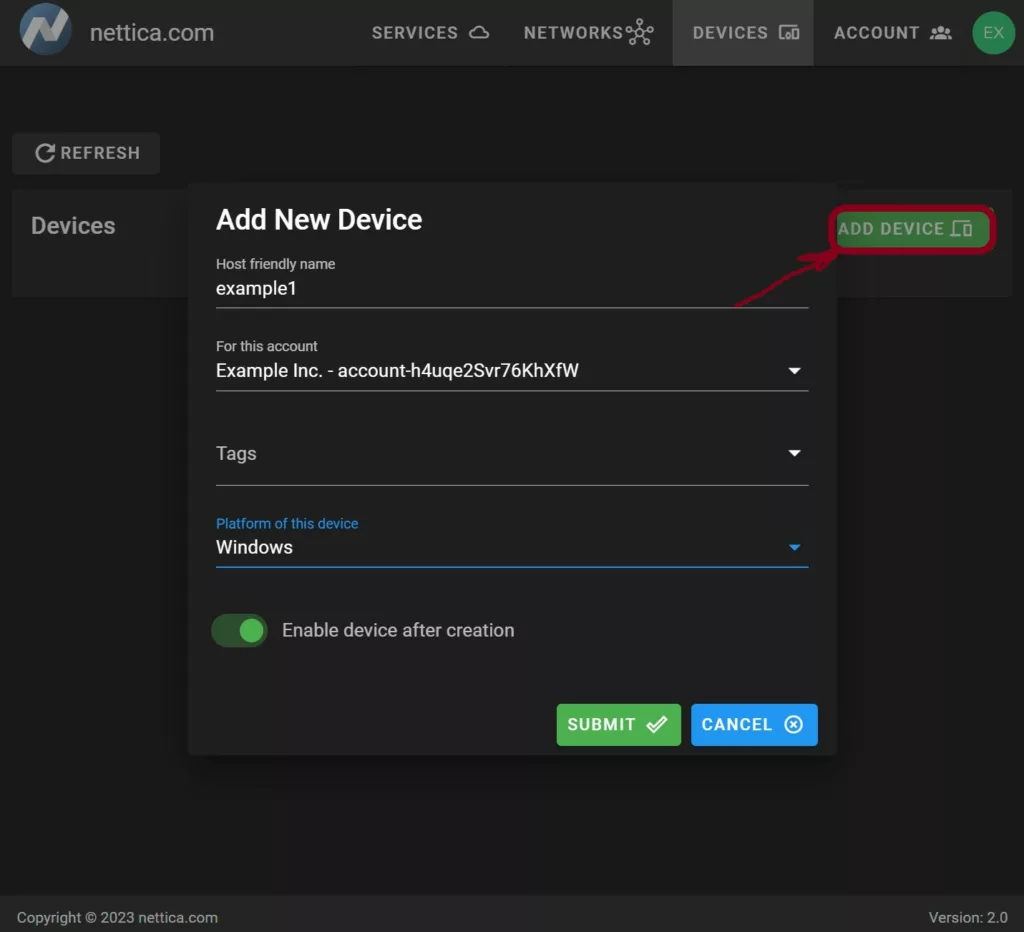
Under the Devices tab, you can view what devices are in your account, as well as which networks they belong to. You can create a device manually (for headless Linux installations), or directly through the Nettica Agent.
Adding a VPN to Device
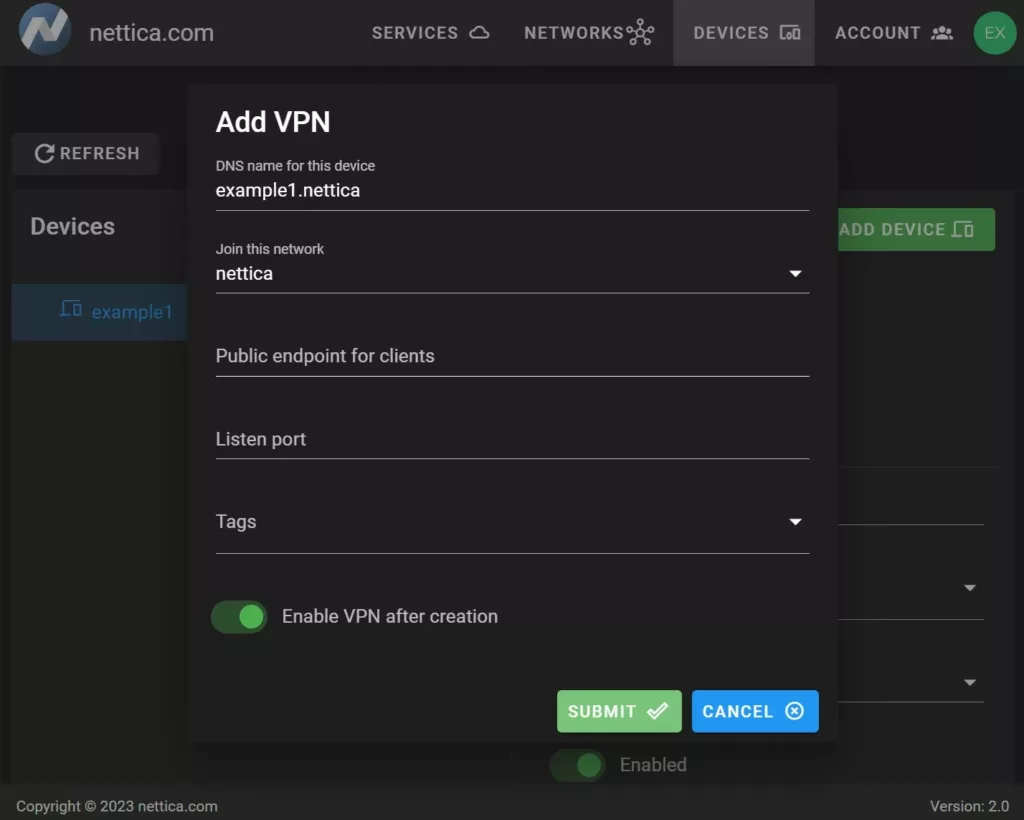
Once you’ve created a device, you will naturally want to add it to the network you just created. This is simple. Click on the blue plus sign (“+”) next to the newly created device and fill in the form. The only required fields are the DNS name for accessing the device, and the network to join.
Conclusion
This covers the basics of how to use Nettica for your networking needs. If you have any problems, please do not hesitate to contact support, or chat with us below.
